

Hearing Amplifier Noise Reduction: Microphone Guide
Learn how directional microphones, distance and MAX + TX deep noise reduction work together for conversations, television, classes and presentations.
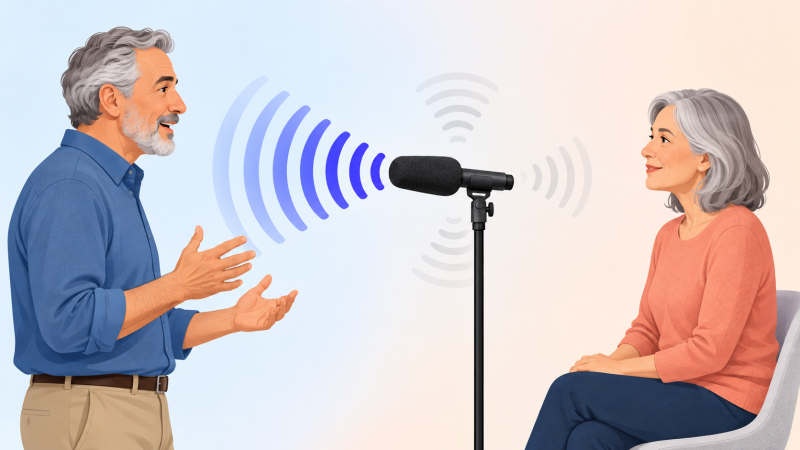
In a busy room, raising the volume may make every sound louder. A directional microphone gives you another option: improve the relationship between the sound you want and the sounds around it.
How direction helps
A directional microphone is designed to emphasize sound arriving from a particular direction. For a face-to-face conversation, that usually means pointing the microphone toward the speaker and keeping it away from nearby noise sources.
This does not erase background noise, and the result will vary with distance, room surfaces, and where sounds are coming from. The goal is a more useful listening position, not complete isolation.
Set up the room
- Choose a seat with the person you want to hear directly in front of you.
- Move away from speakers, televisions, open kitchens, and other steady noise when possible.
- Shorten the distance. A closer conversation often needs less amplification.
- Use softer rooms when you can; hard walls and large open spaces may produce more reflections.
Point and adjust
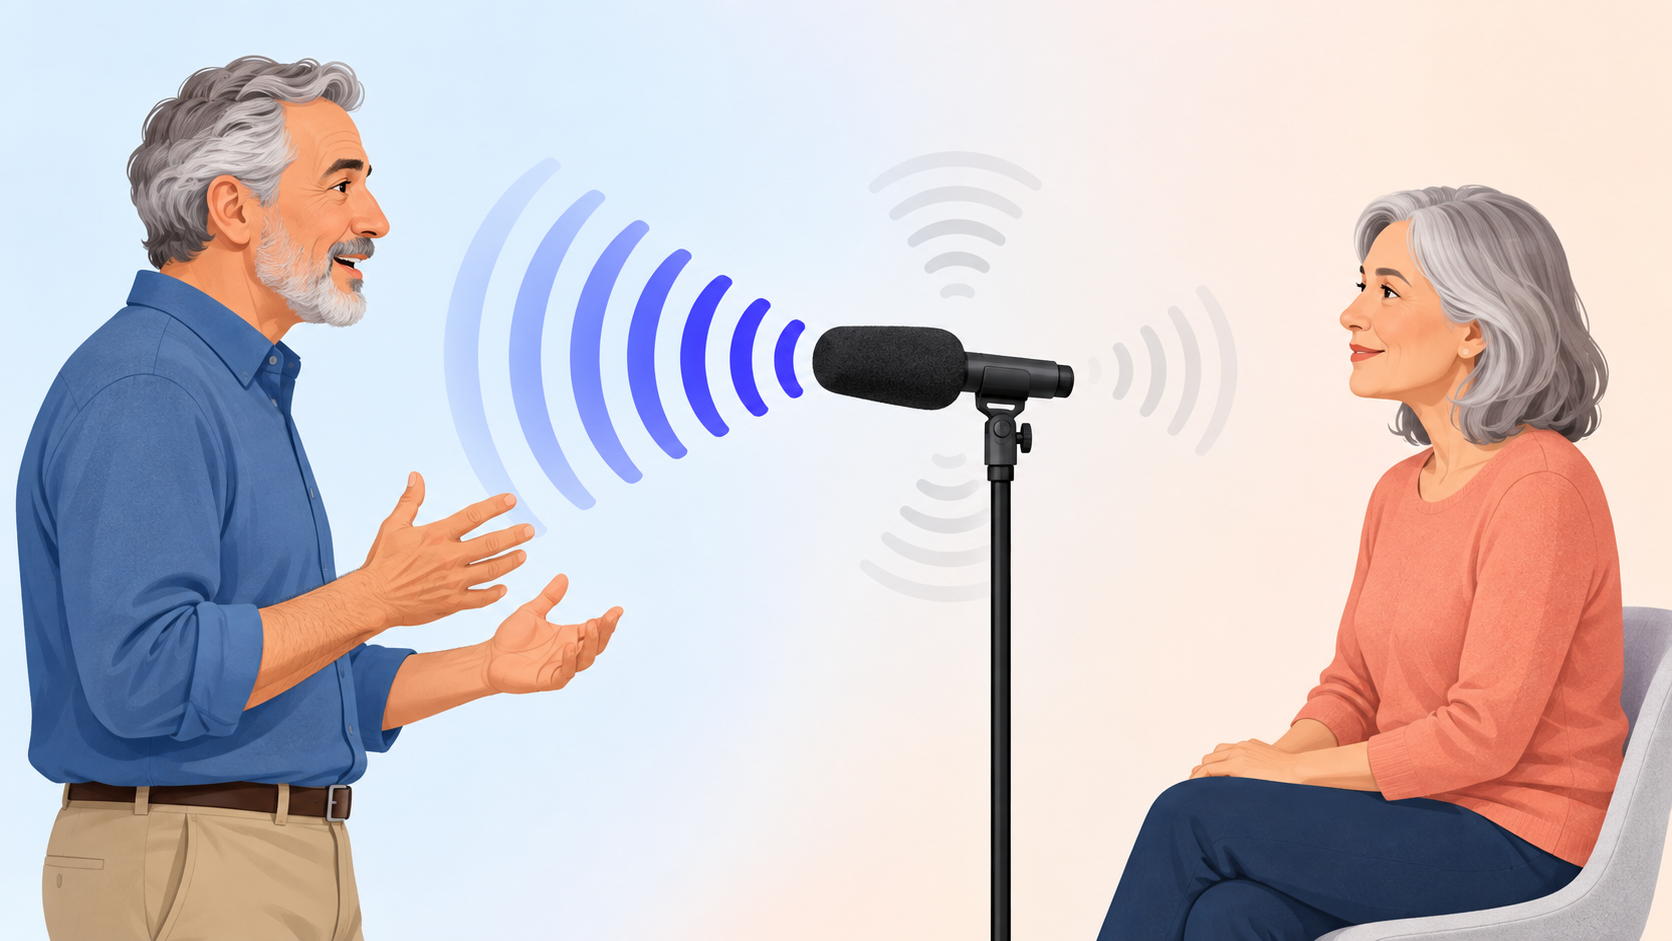
Begin with the volume low. Aim the microphone toward the speaker’s upper body, then raise the level slowly until speech is useful. If nearby clatter becomes distracting, first change your position or angle. Make a small volume adjustment only after the microphone is pointed correctly.
Quick routine: face the speaker, point the microphone, start low, then adjust gradually.
Common mistakes
Avoid covering the microphone with your hand or clothing, pointing it toward the table, or letting the cable rub against the device. Do not place the microphone beside a loud source and try to compensate with more volume.
If sound becomes uncomfortable, distorted, or tiring, lower the volume and take a break. Recheck microphone direction and distance before making another volume change.
Directional microphones and noise reduction do different jobs
A directional microphone emphasizes sound from the direction it faces. Noise-reduction processing analyzes the microphone input and reduces parts of the environmental sound. Good placement still matters: an algorithm cannot fully recover speech that reached the microphone weakly or was already overwhelmed by nearby noise.
IR8 and I8-Pro: aim the microphone before adding volume
IR8 and I8-Pro use a separate directional microphone. Point it toward the wanted source and, when practical, use a compatible extension cable to move it closer. Both models provide up to 65 dB of specified maximum gain, but microphone distance and direction should be improved before simply increasing volume.
MAX + TX: deep noise reduction after the 2.4 GHz connection
After IROGER TX and IROGER MAX establish their dedicated 2.4 GHz connection, deep machine-learning environmental noise reduction is active for the TX audio path. For conversation, connect a microphone to TX and place it near the speaker. The listener controls volume on MAX and uses compatible headphones or earbuds.
The deep noise-reduction path is active for TX audio sent to MAX, including a connected microphone or compatible wired TV/audio source. Bluetooth phone calls use the separate MAX Bluetooth connection.
Placement examples
- One-to-one conversation: place the microphone near the other person and away from clattering dishes, fans, or loudspeakers.
- Television: point the IR8/I8-Pro microphone toward the TV, connect the TV to TX, or use compatible MAX Bluetooth audio.
- Class or presentation: place or clip the microphone near the presenter when permission and the room setup allow.
- Family table: avoid covering the microphone and keep it closer to the primary speaker than to noise sources.
What noise reduction cannot promise
No microphone or algorithm removes every background sound, and room acoustics, competing voices, distance, microphone orientation, and volume all affect the result. Start in a quieter setting, make one change at a time, and compare the sound before increasing the volume.
See all models on the hearing amplifiers page, or use the selection guide to compare gain, controls, connections, and listening styles.